hail812/yii2-adminlte3 
adminlte3 for yii2
Installation 
The preferred way to install this extension is through composer.
Either run
composer require "hail812/yii2-adminlte3=~1.1"
or add
"hail812/yii2-adminlte3": "~1.1"
to the require section of your composer.json file.
Usage 
Once the extension is installed, you can config the path mappings of the view component:
'components' => [
    'view' => [
         'theme' => [
             'pathMap' => [
                '@app/views' => '@vendor/hail812/yii2-adminlte3/src/views'
             ],
         ],
    ],
],
Copy files from @vendor/hail812/yii2-adminlte3/src/views to @app/views, then edit.
simply use:
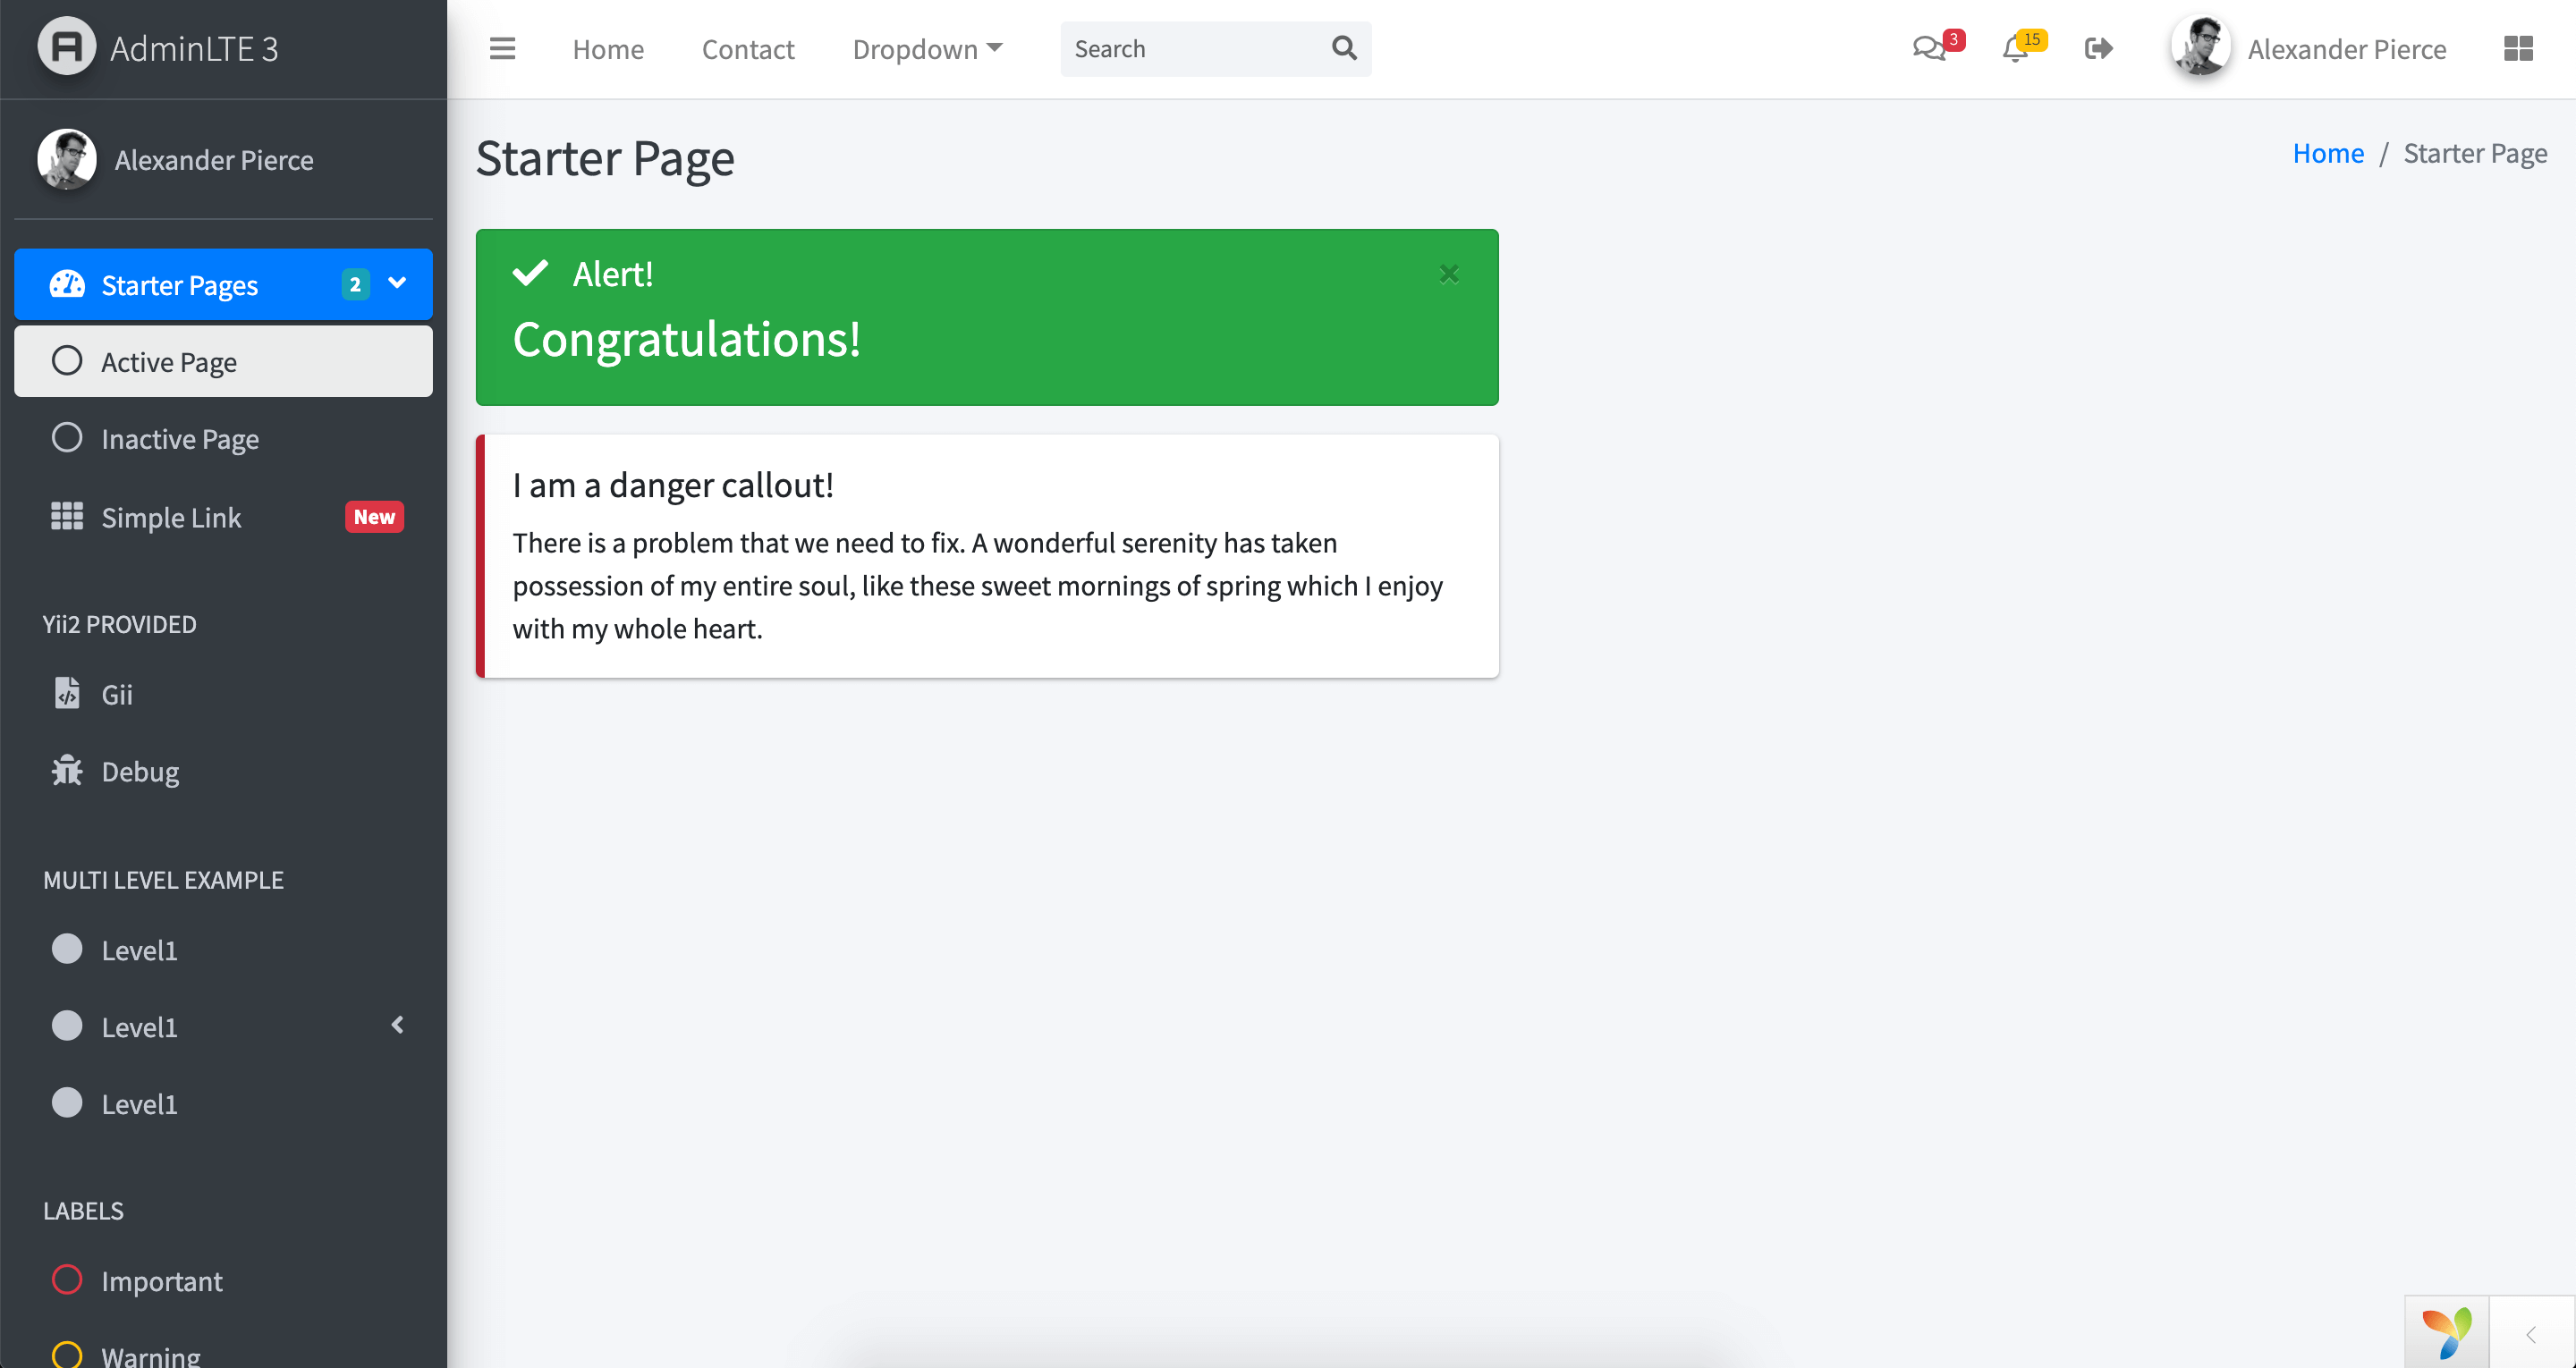
<?= \hail812\adminlte\widgets\Alert::widget([
    'type' => 'success',
    'body' => '<h3>Congratulations!</h3>'
]) ?>
more for widgets
AdminLTE Plugins 
AdminLTE Plugins are not included in AdminLteAsset, if you want to use any of them you can add it dynamically with PluginAsset. For example:
/* @var $this \yii\web\View */

\hail812\adminlte3\assets\PluginAsset::register($this)->add('sweetalert2');

// or
\hail812\adminlte3\assets\PluginAsset::register($this)->add(['sweetalert2', 'toastr']);
before this, maybe you should edit params.php:
return [
    'adminEmail' => 'admin@example.com',
    'hail812/yii2-adminlte3' => [
        'pluginMap' => [
            'sweetalert2' => [
                'css' => 'sweetalert2-theme-bootstrap-4/bootstrap-4.min.css',
                'js' => 'sweetalert2/sweetalert2.min.js'
            ],
            'toastr' => [
                'css' => ['toastr/toastr.min.css'],
                'js' => ['toastr/toastr.min.js']
            ],
        ]
    ]
];
or
/* @var $this \yii\web\View */

$bundle = \hail812\adminlte3\assets\PluginAsset::register($this);
$bundle->css[] = 'sweetalert2-theme-bootstrap-4/bootstrap-4.min.css';
$bundle->js[] = 'sweetalert2/sweetalert2.min.js';
Gii 
Now you need to tell Gii about out template. The setting is made in the config file.
// config/main-local.php for advanced app
if (!YII_ENV_TEST) {
    $config['modules']['gii'] = [
        'class' => 'yii\gii\Module',
        'generators' => [ // here
            'crud' => [ // generator name
                'class' => 'yii\gii\generators\crud\Generator', // generator class
                'templates' => [ // setting for our templates
                    'yii2-adminlte3' => '@vendor/hail812/yii2-adminlte3/src/gii/generators/crud/default' // template name => path to template
                ]
            ]
        ]
    ];
}
Open the CRUD generator and you will see that in the field Code Template of form appeared own template.
Thank you hail for the extension!
So cool, just what I was looking for, thank you so much!
Gracias por compartir esta extensión
Very useful and flexiable library to work with!! Thanks,
Any example code of how to use sweetalert2 and toastr?
1- Add sweetalert plugin to your template:
`php$bundle = \hail812\adminlte3\assets\PluginAsset::register($this);
$bundle->css[] = 'sweetalert2-theme-bootstrap-4/bootstrap-4.min.css';
$bundle->js[] = 'sweetalert2/sweetalert2.min.js';
`2- Create a button to do the action: (shortlist an item in my case).
`html`3- Add js code to your .js file:
`javascript$('#nominationsPjax').on('click', '.shortlist', function(e) {
e.preventDefault();
$.ajax({
    type: "POST",
    url: $(this).val(),
    data: {
        id: $(this).attr('data-id'),
    },
    success: function(result) {
        /*Fire sweetalert msg here...*/
        Swal.fire({
            icon: 'success',
            title: yiiOptions.shortlistTitle,
            text: yiiOptions.shortlistSuccessMsg
          });
        $.pjax.reload({container: "#nominationsPjax", async: false});
    },
    error: function(result) {
        Swal.fire({
            icon: 'error',
            title: yiiOptions.shortlistTitle,
            text: yiiOptions.shortlistErrorMsg
        });
    }
});
});
`If you have any questions, please ask in the forum instead.
Signup or Login in order to comment.